
If you want to create OTP Input Field in HTML css then this article will help you. Here I will tell you step by step how to create OTP Input Field in HTML.
If you know basic html and css then you can easily know how to create OTP Input Field from this tutorial.
In today’s digital age, ensuring the security of online transactions and user data is of utmost importance. One of the widely adopted security measures is the One-Time Password (OTP) system, which provides an additional layer of authentication. OTPs are temporary codes sent to users’ registered devices to validate their identity.
OTP Input Field HTML CSS
Implementing a visually appealing and user-friendly OTP input field in HTML CSS not only enhances security but also improves the overall user experience. In this article, we will explore how to create an OTP input field using HTML and CSS.
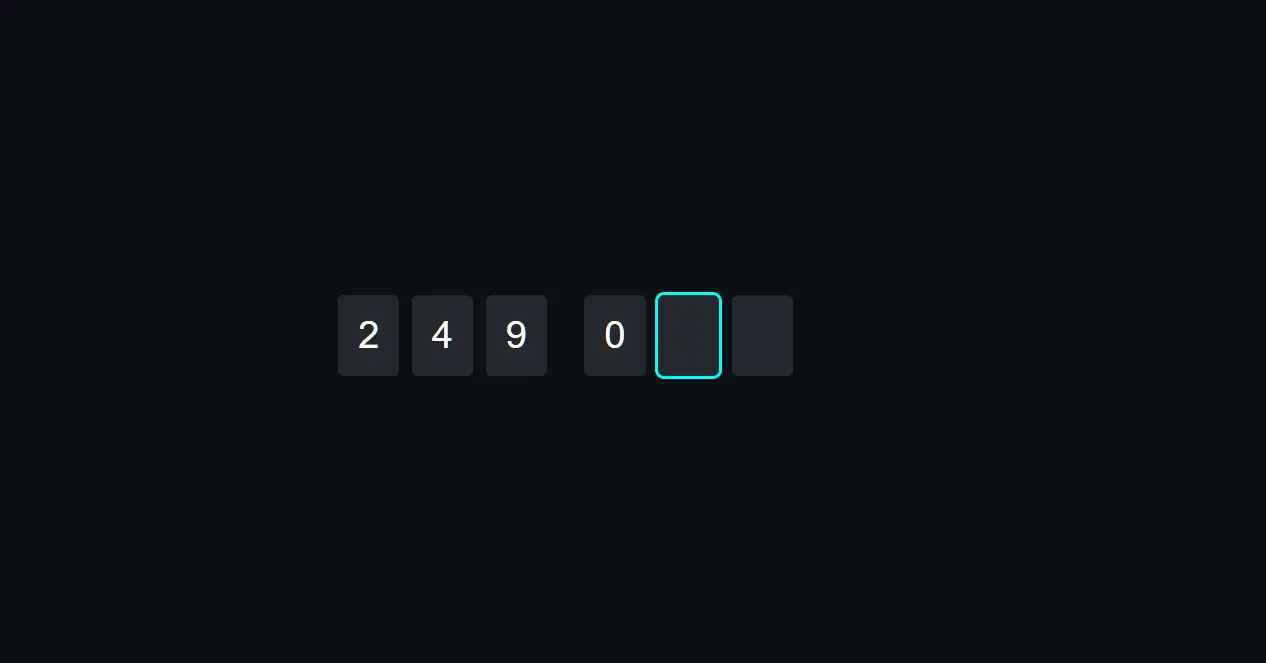
See the Pen Awesome OTP Input Fields by Ground Tutorial (@groundtutorial) on CodePen.
As you can see in the demo above it is a simple OTP Input Field created by html css and javascript.
OTP Input Field in HTML CSS JavaScript
To create this OTP Input Field in HTML first you need to create basic structure by html. Then we need to create our basic structure by css. Finally we need to activate this OTP Input Field by Javascript.
OTP Input Field in HTML
To begin, let’s create the basic HTML structure for the OTP input field HTML CSS. We’ll use the <input> element with a type attribute of “text” to allow users to enter the OTP digits.
Additionally, we’ll use the maxlength attribute to limit the input to the desired number of digits, typically one.
<div class="otp-input-fields">
	<input type="text" maxlength="1" />
	<input type="text" maxlength="1" />
	<input type="text" maxlength="1" />
	<input type="text" maxlength="1" />
	<input type="text" maxlength="1" />
	<input type="text" maxlength="1" />
</div>
Design the OTP Input Field with CSS
Next, we’ll style the OTP input field to make it visually appealing and intuitive for users. We can use CSS to enhance the appearance and provide visual feedback during the OTP entry process.
body,
html {
  width: 100%;
  height: 100%;
  display: flex;
  justify-content: center;
  align-items: center;
  flex-direction: column;
  background-color: #0c1016;
  font-size: 10px;
  margin: 0;
  padding: 0;
  color: #00fff1;
  font-family: "Roboto", sans-serif;
}

* {
  box-sizing: border-box;
}

.otp-input-fields {
  display: flex;
  flex-direction: row;
}
.otp-input-fields input {
  width: 4.9rem;
  padding: 1.5rem;
  font-size: 3rem;
  border: none;
  margin: 0 1rem 0 0;
  background-color: rgba(255, 255, 255, 0.1);
  border-radius: 0.5rem;
  color: #ffffff;
  text-align: center;
  transition: all 150ms ease-in-out;
}
.otp-input-fields input:last-child {
  margin: 0 0 0 0;
}
.otp-input-fields input:focus {
  color: #00fff1;
  outline: 0.3rem solid #00fff1;
}
.otp-input-fields input:nth-child(3) {
  margin: 0 3rem 0 0;
}
.otp-input-fields input:disabled {
  opacity: 0.3;
}
Activate OTP Input Field by JavaScript
Now we need to make the OTP Input Field in HTML functional using javascript. To provide a seamless user experience, you can enhance the OTP input field by automatically focusing on the next input box after the user enters a digit. You can achieve this using JavaScript. Here’s an example implementation:
// Get all input fields with the class "otp-input-fields"
const inputs = document.querySelectorAll(".otp-input-fields input");

// Iterate over each input field
inputs.forEach((input, index) => {
	// Add a custom attribute "data-index" to store the index of the input field
	input.dataset.index = index;

	// Add event listeners for focus, keydown, paste, and keyup events
	input.addEventListener("focus", clear);
	input.addEventListener("keydown", clear);
	input.addEventListener("paste", onPaste);
	input.addEventListener("keyup", onKeyUp);
});

// Function to clear the input field
function clear($event) {
	$event.target.value = "";
}

// Function to check if the input is a number
function checkNumber(number) {
	return /[0-9]/g.test(number);
}

// Function to handle paste event
function onPaste($event) {
	// Get the pasted data
	const data = $event.clipboardData.getData("text");

	// Remove spaces and split the data into an array of characters
	const value = data.replace(/ /g, "").split("");

	// Check if all characters are numbers
	if (!value.some((number) => !checkNumber(number))) {
		// If the length of the array matches the number of input fields
		if (value.length === inputs.length) {
			// Fill each input field with the corresponding character
			inputs.forEach((input, index) => {
				input.value = value[index];
			});

			// Call the submit function
			submit();
		}
	} else {
		return;
	}
}

// Function to handle keyup event
function onKeyUp($event) {
	const input = $event.target;
	const value = input.value;
	const fieldIndex = +input.dataset.index; // Get the index of the current input field

	// If the Backspace key is pressed and the current field is not the first one
	if ($event.key === "Backspace" && fieldIndex > 0) {
		// Move focus to the previous input field
		input.previousElementSibling.focus();
	}

	// If the input value is a number
	if (checkNumber(value)) {
		// If the input value is not empty and the current field is not the last one
		if (value.length > 0 && fieldIndex < inputs.length - 1) {
			// Move focus to the next input field
			input.nextElementSibling.focus();
		}

		// If the input value is not empty and the current field is the last one
		if (input.value !== "" && fieldIndex === inputs.length - 1) {
			// Call the submit function
			submit();
		}
	} else {
		// If the input value is not a number, clear the input field
		clear($event);
	}
}

// Function to submit the OTP
function submit() {
	let otp = "";

	// Concatenate the values of all input fields to form the OTP
	inputs.forEach((input) => {
		otp += input.value;
		input.disabled = true; // Disable the input field
	});

	// Log the OTP to the console
	console.log(otp);
}

Implementing a visually appealing and user-friendly OTP input field using HTML and CSS can significantly enhance the security of online transactions and user data.
I have created many more articles using JavaScript. You can check out those articles if you need to know more about JavaScript. Comment me how you like this OTP Input Field HTML CSS tutorial.